Build a SvelteKit application with Docker
Resources
SvelteKit version: 1.0.0
GitHub repository: https://github.com/JustinyAhin/trigyte
One of the most interesting pieces of software in modern web development is Docker. It allows for building, shipping, and running applications in a container. In this article, we will learn how to build a SvelteKit application with Docker.
Docker? What is it?
Let's try to understand what Docker is by painting a scenario where it might be useful. Imagine you are a developer working on a Node.js application with a Python backend on top of a PostgreSQL database. Now, picture some of your colleagues trying to run your application on their machines. Many things could go wrong in the process:
They might have a different version of Node.js installed on their machine.
Depending on their OS, installing PostgreSQL properly might be a hassle.
The application could just not run because of an unknown and obscure error.
These are just a few examples of the problems that could arise.
Now, imagine you are able to have your whole application stack packaged in a "container" that can be run anywhere, regardless of the environment or the OS.
Imagine you can define such a "container" in a file using declarative language and share it with your colleagues. This is what Docker is.
At its core, Docker allows running applications in a modern, reproducible, isolated environment.
The usage can even go beyond just sharing development environments. Docker is also a great tool for deploying applications in production.
You can read more about Docker and how it works in the official documentation.
Dockerizing a SvelteKit application
Ultimately, a SvelteKit application is also a Node.js app. This means the process of Dockerizing a SvelteKit app is very similar to Node.js applications in general.
This article will use this small SvelteKit application as an example. It is a simple and barebone talent directory application.
The code is based on the repository from my previous article about using Zod for forms validation with SvelteKit. The application uses the SvelteKit Node adapter.
A high-level overview of the process
At a high level, Dockerizing an application is just writing some instructions about how we want to build and run it.
These instructions are written in a declarative language called Dockerfile. The Dockerfile is then used to build a Docker image, a snapshot of the application at a given time. The image can then be used to run a container, which is the actual running instance of the application.
For our SvelteKit application (which is a Node.js application), we will need to:
Define a base image to use for Node.js.
Copy over to the image the code we need to run the application.
Run the necessary commands to install the dependencies and build the application.
Writing the Dockerfile
Before we start writing the Dockerfile, we need to create a file called .dockerignore at the root of our project. This file will contain the files and folders we want to exclude from the image. This is useful because we don't need to copy the whole project to the image.
Things like the node_modules folder, the .git folder, the .vscode folder, etc., are not needed in the image. We can just exclude them from the image to make it smaller.
# .dockerignore

.vscode

node_modules

.git
.gitattributes

.eslintignore
.eslintrc.cjs

.prettierrc
.pretieriignore

README.md

Dockerfile
Now, we can start writing the Dockerfile. Since we are building a Node.js application, we will need something to run it on. On our local machines, we probably have Node.js installed. We need to do the same in the image. We will use the official Node.js image as a base image. This image already contains Node.js and npm installed.
# Dockerfile

FROM node:16-alpine
You can find available Node.js images on Docker Hub. The alpine image is a lightweight version of the Node.js image. It is a good choice for production environments.
Next, we need to copy over the code we need to run the application in our image working directory.
# Dockerfile

FROM node:16-alpine

RUN npm install -g pnpm

WORKDIR /app
COPY package.json pnpm-lock.yaml ./
RUN pnpm install --frozen-lockfile
I mostly use pnpm for my Node projects, so I install it globally in the image. The next step in the above code is to copy over the package.json and pnpm-lock.yaml files and install the dependencies. The --frozen-lockfile flag ensures the dependencies are installed exactly as specified in the lock file.
Now, we need to copy over the rest of the code and build the application.
# Dockerfile

FROM node:16-alpine

RUN npm install -g pnpm

WORKDIR /app
COPY package.json pnpm-lock.yaml ./
RUN pnpm install --frozen-lockfile

COPY . .
RUN pnpm build

EXPOSE 3000
CMD ["node", "build"]
In the above code, we copy over the rest of the code and build the application. We then expose port 3000 and run the application.
Now, if you run docker build . -t trigyte-sveltekit from the root of your project, you should have a Docker image called trigyte-sveltekit ready. Here is the output of the command in my terminal:
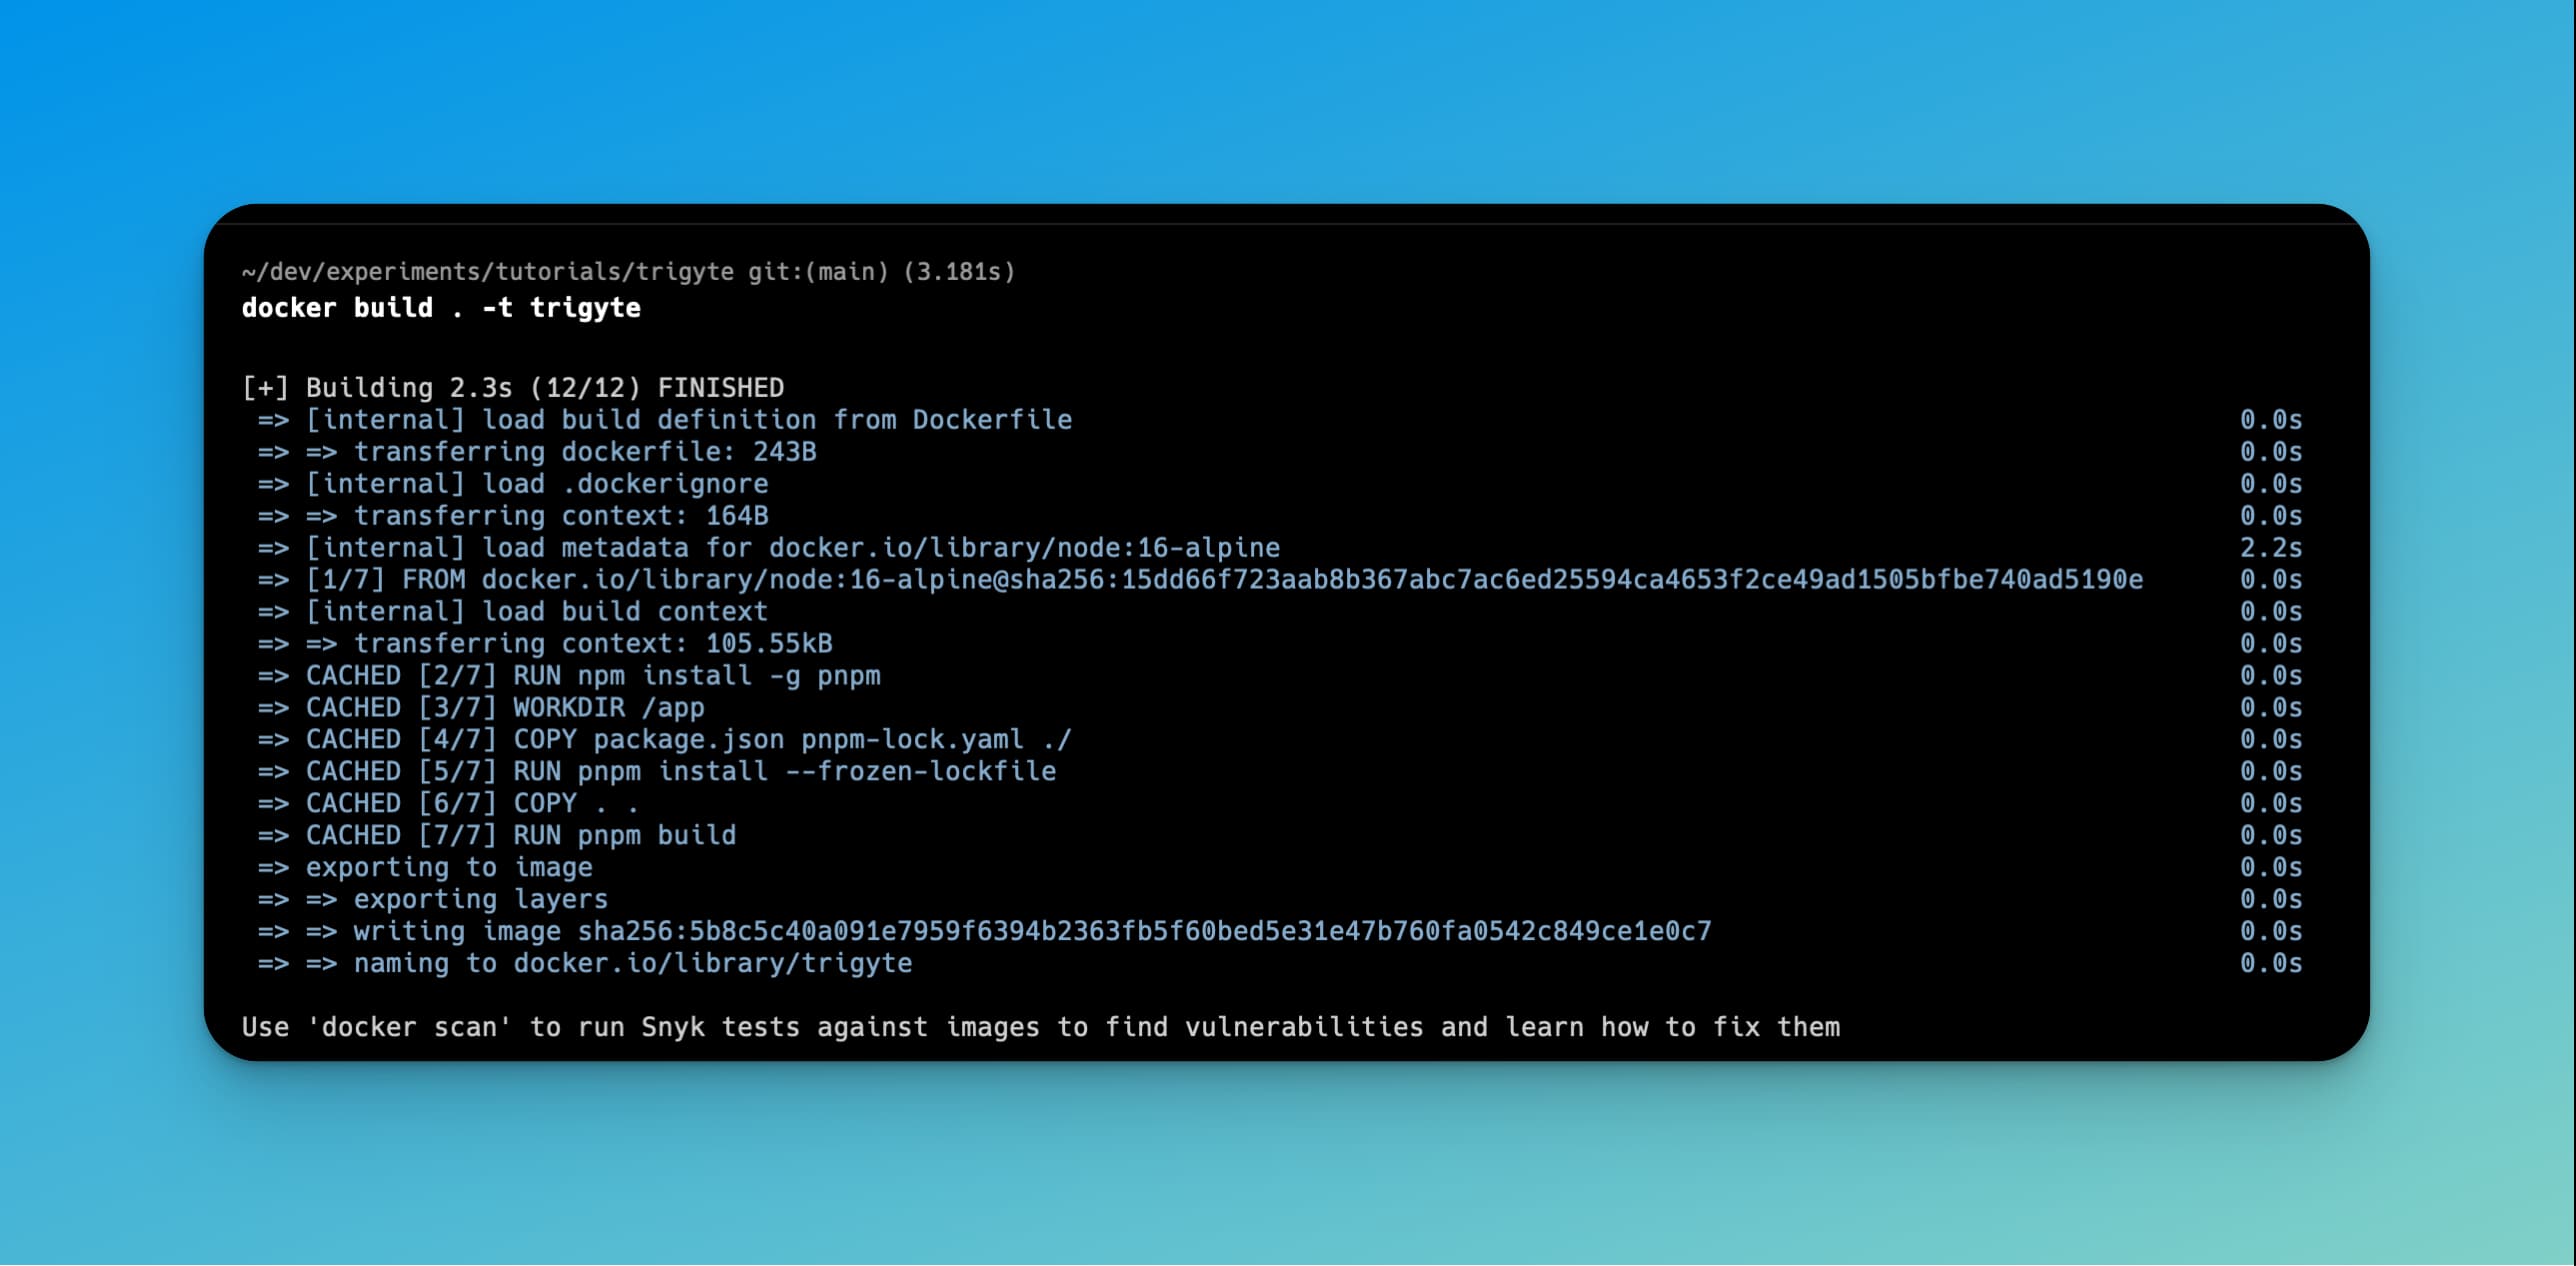
You might have a slightly different output, depending on if you've already built a Node.js image on your machine (Docker will cache the image layers on the first run and try to reuse them on subsequent runs).
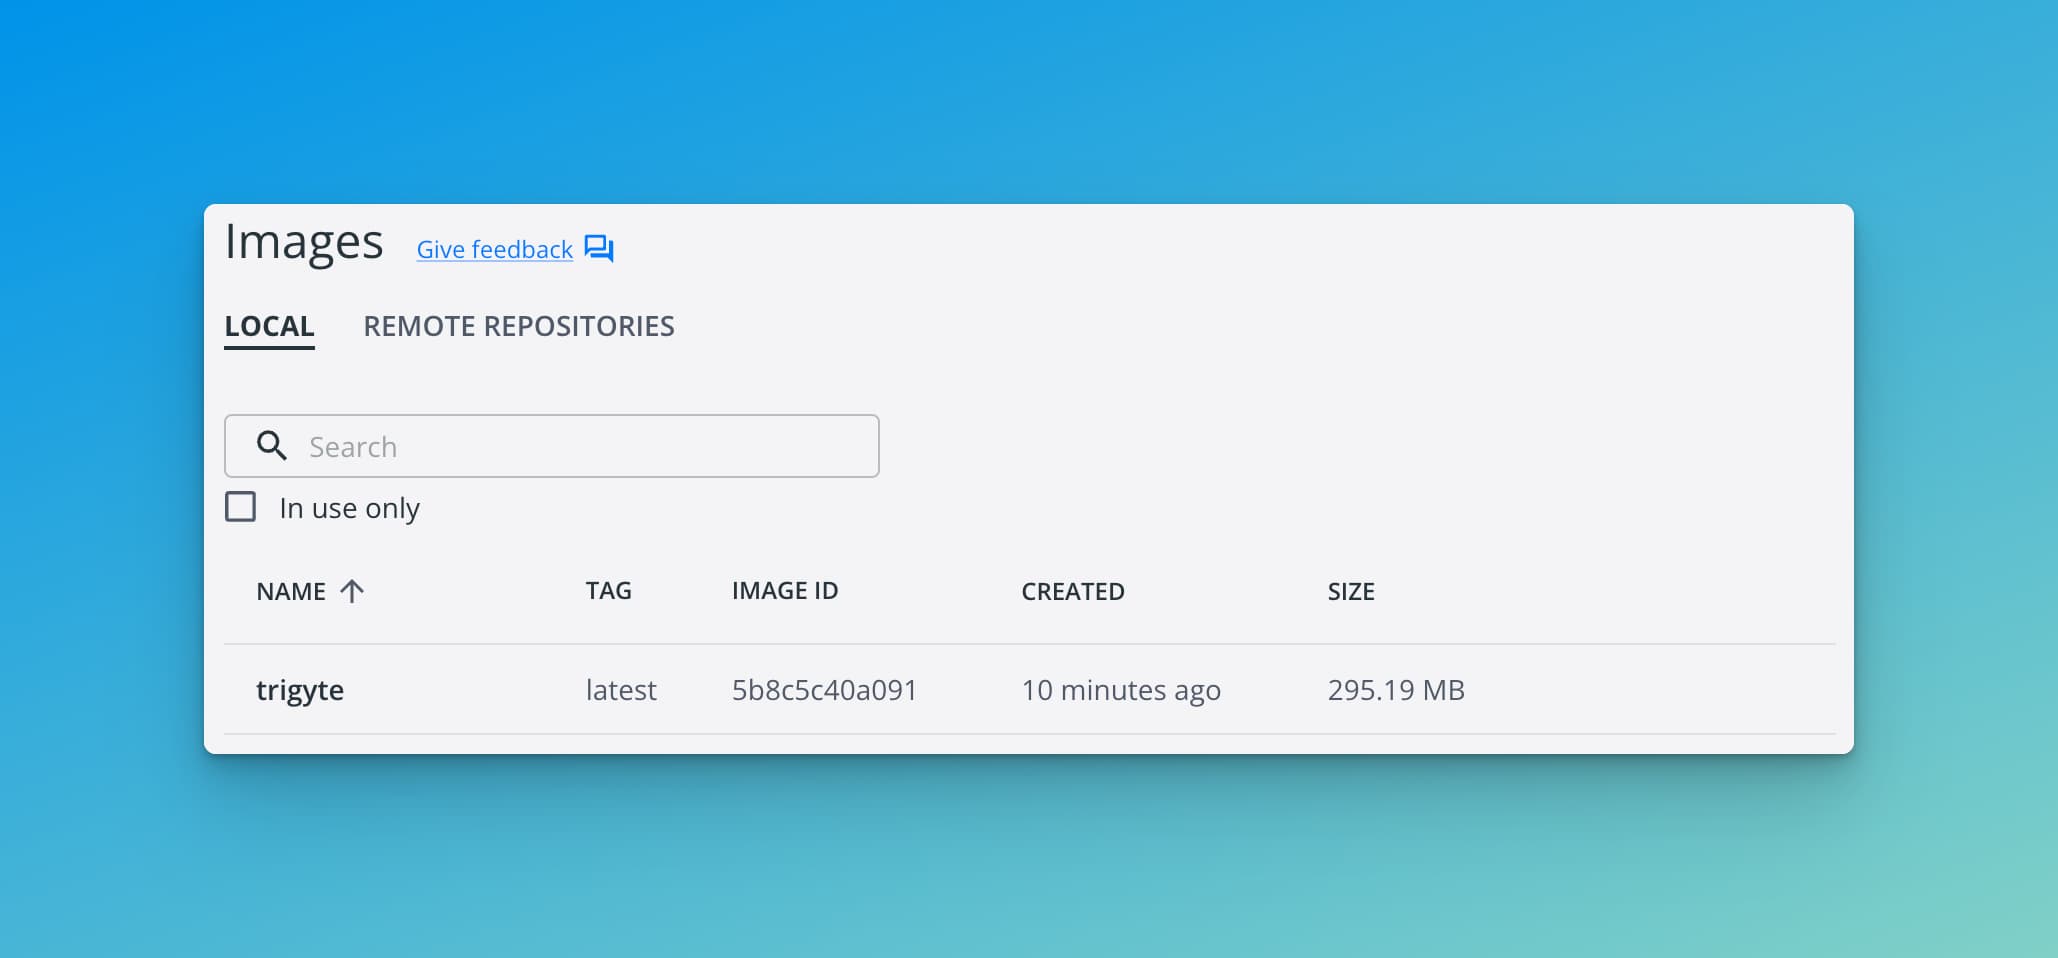
I use Docker Desktop on my machine to view the images I have built in the Docker Dashboard.
Running the application
At this step, we can run our application inside a container. We can do this by running docker run -d -p 3000:3000 --name trigyte-app trigyte-sveltekit .
Here's what this command does:
-druns the container in detached mode, meaning it runs in the background.-p 3000:3000maps port 3000 of the container to port 3000 of the host machine.--name trigyte-appgives a name to the container (this is optional but can be useful for easily identifying the container).trigyte-sveltekitis the name of the image we want to run (the image we built previously).
After running the command, we should be able to access the application at http://localhost:3000 .
Wrapping up
This article just covers a tiny part of what we can do with Docker. We can go further by using Docker Compose to run multiple containers at once (when our application needs a database and other services, for example). We can also create a Docker image with a reverse proxy like Caddy to serve our application in production.
Overall, the possibilities to develop and distribute applications with Docker are endless. I hope this article gives you a good starting point to get started with Docker and SvelteKit.