Svelte and CSS

Justin Ahinon
Last updated on
Svelte REPL: https://svelte.dev/repl/c5e739eddf2b44af93590a00eb8f1279?version=3.55.1
Svelte version: 3.54.0
SvelteKit version: 1.0.0
Now that I’ve started writing this blog post, I realize that I should have written it earlier. Because I am a big fan of how Svelte handle CSS and styling in general. I always thought it was quite obvious, until someone tweeted this, asking a question about it.
So, this post is an attempt to explain how Svelte handle CSS and styling in general.
This post covers mostly Svelte and CSS, but most of the things I will share are also relevant to SASS, LESS, and other CSS preprocessors. Same goes with SvelteKit, which is the meta-framework built on top of Svelte.
For this blog post, I will use the Svelte REPL to show some examples. A Svelte REPL is just a place where you can write Svelte code and see the result, the code output and console logs. You can also save your code and share it with others. It’s a great tool to learn Svelte.
Here is the REPL I will use for this post: https://svelte.dev/repl/c5e739eddf2b44af93590a00eb8f1279?version=3.55.1.
Scoped CSS
Most of the time, your Svelte components will have the following structure:
code loading...
The script tag will contain your JavaScript code, below it, you will have your HTML markup, and at the end, you will have your CSS styles. This is the default structure of a Svelte component.
Per default, styles that you write in the style tag of a component will be scoped to that component. This means that the styles will only apply to the component itself, and will not leak to elements in others components .
Consider the following two components from the REPL:
code loading...
code loading...
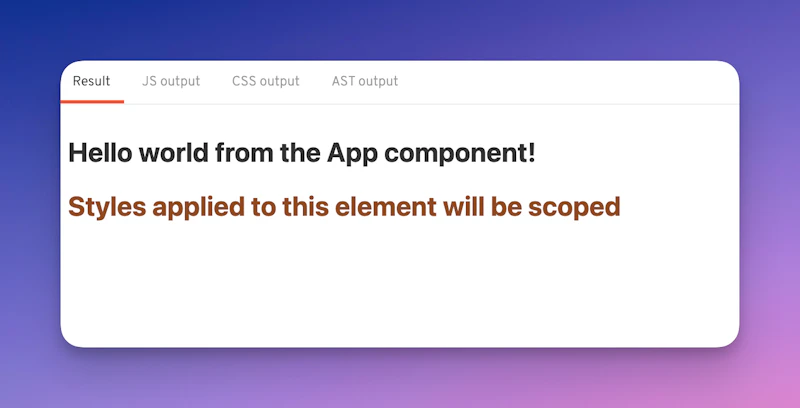
Here is what the output looks like:

Notice that even if we have two h2 elements, the color CSS property is not applied to the h2 in the App component.
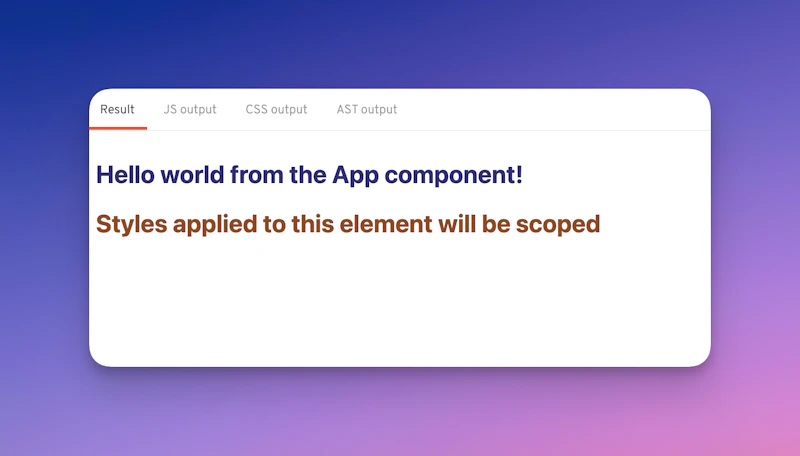
We can add a class to the h2 in the App component, and then apply the color CSS property to that class, and it will work:
code loading...

Now the two h2 elements have different colors, without the styles of one of them leaking to the other.
Let’s look now at the HTML output of the App component:
code loading...
Svelte can now create the styles as follows:
code loading...
When you create a style tag in a component, Svelte will add a random class string to all the HTML elements that are targeted by the CSS styles. In the example above, the h2 in the App component has the class svelte-1rf5n5a , and the h2 in the Scoped component has the class svelte-1qapnsy.
What I particularly like about this approach is that any class name added to the HTML elements are not overwritten by Svelte. This allows having more readability in the HTML markup.
Scoped styles obviously means that you can have the same class name in different components, and they will not conflict with each other.
Global CSS
Sometimes, you will want some styles to be applied to all the components of your application. For example, you might want to have a CSS reset, or some global styles for headings, paragraphs, etc.
Svelte makes it easy to do that with the :global(...) :global(...) modifier. Let’s look at an example with a new component:
code loading...
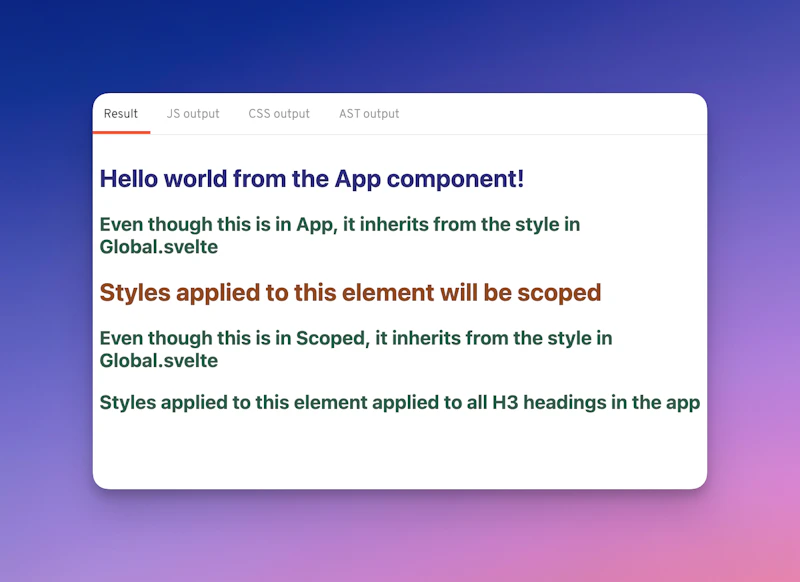
Not only the h3 in the Global component will have the color CSS property, but all the other h3 elements in the app will have it too:
code loading...
code loading...

The styles for global CSS look like this:
code loading...
Global styles can also be applied to class names, IDs, or any other CSS selector.
Importing CSS
Another thing I like about Svelte is how easy it is to import styles to a component. Let’s look at an example:
code loading...
Then, in our component, we can import the styles like this:
code loading...
Svelte will automatically inline the styles from the global.css file in the component, and the output will look like this:
code loading...
Inlining styles helps with performance, as the browser will not have to make a request to the server to get the styles.
Of course, you can style overwriting the styles from the imported file:
code loading...
This will apply to red color to the paragraph even though the global.css file has a different color.
If you are using SvelteKit, you can configure the inlineStyleThreshold option in the svelte.config.js file.
This option allows specifying the maximum size of a CSS file to be inlined. All CSS files needed for the page and smaller than this value are merged and inlined in a <style> block, and other CSS files are imported as external files. See the SvelteKit documentation for more details about this option.
Conclusion
There are many ways to style Svelte components, and I hope this article has given you a good overview of the different options available.
You can read more details about how Svelte handles styling in the official documentation.